Effortless Post Scheduling in WordPress: A Step-by-Step Guide
Do you know you could write and prepare your blog posts in advance and have them automatically published at your preferred date and time?
WordPress offers a convenient solution to this with its post scheduling feature.
In this guide, we'll walk through the process, making it easy for you to start scheduling your blog posts.
Scheduling a Post in the Block Editor
If you're using the modern WordPress block editor, scheduling a post is straightforward. Here's how to do it:
Step 1:
Create or edit your blog post.
Step 2:
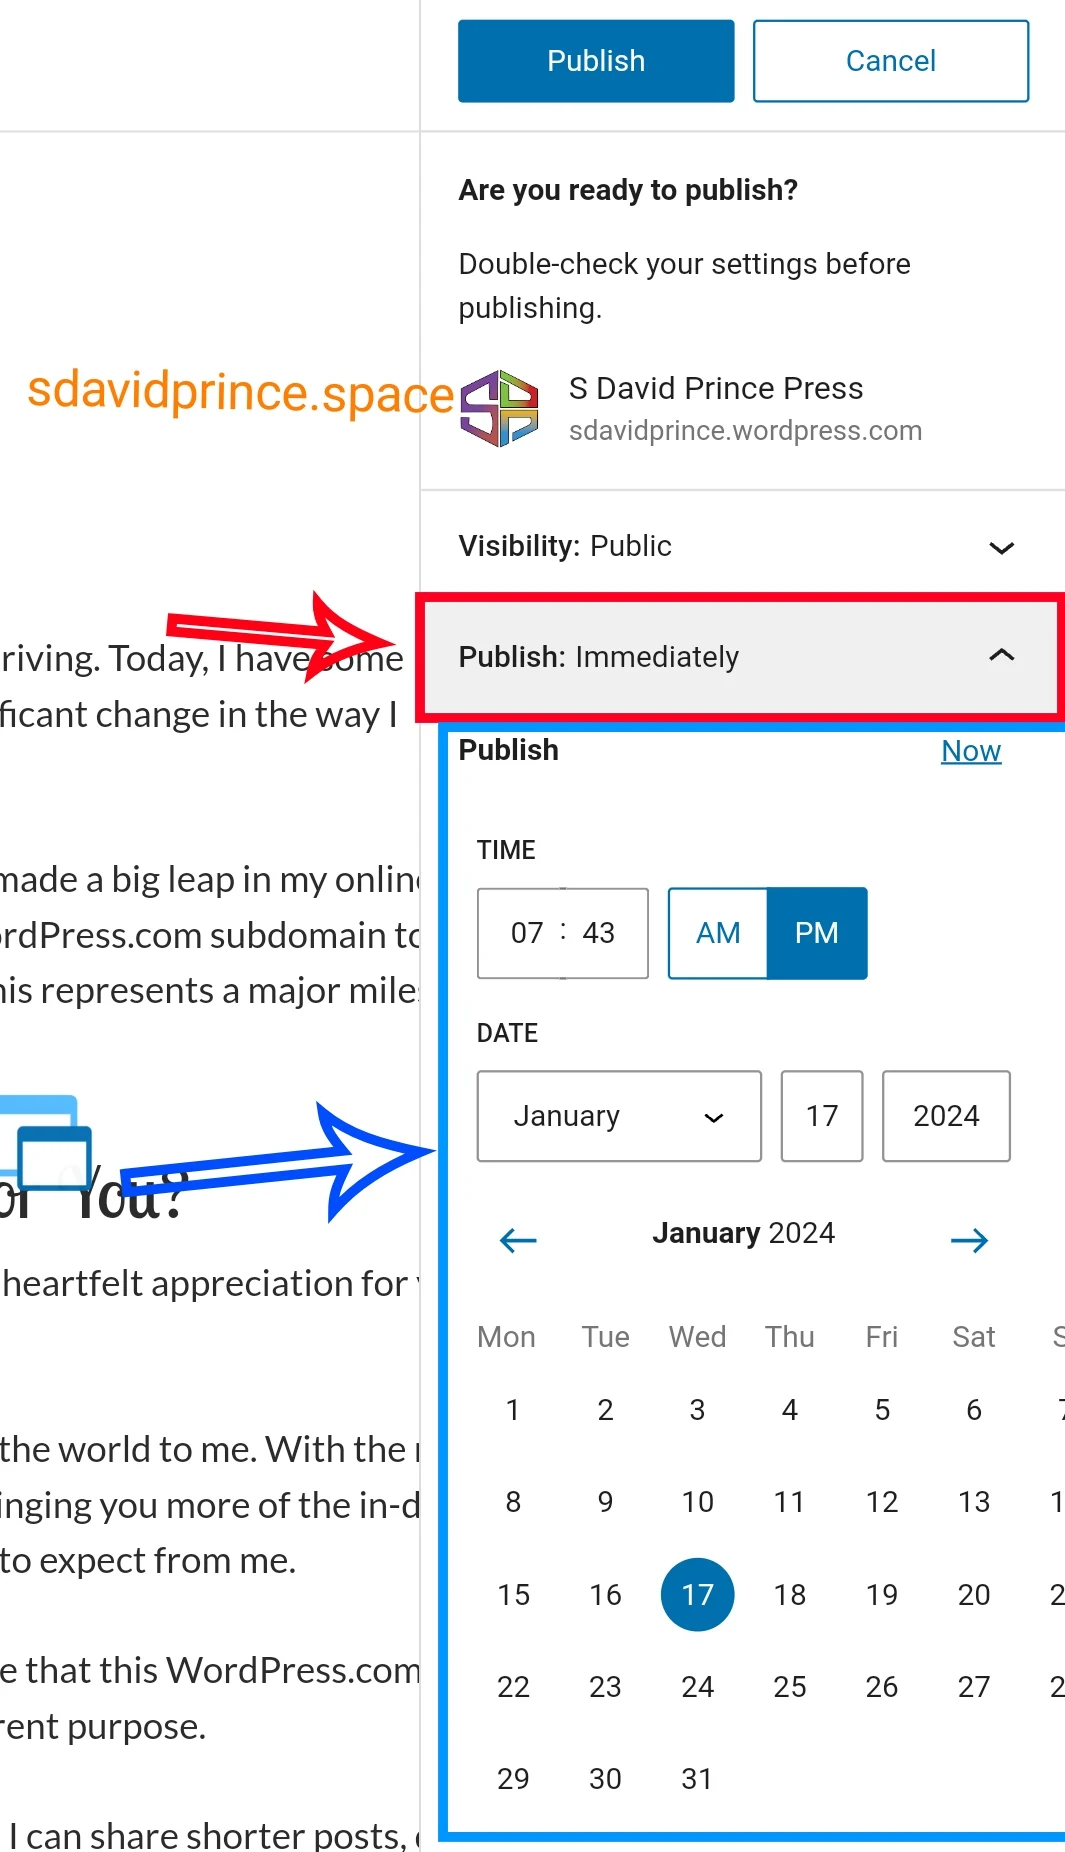
When ready, click on "Publish"
Step 3:
A Publish meta box would appear, select the "Publish" dropdown
Step 4:
Set your Schedule Date.
Step 5:
Click "OK."
Step 6:
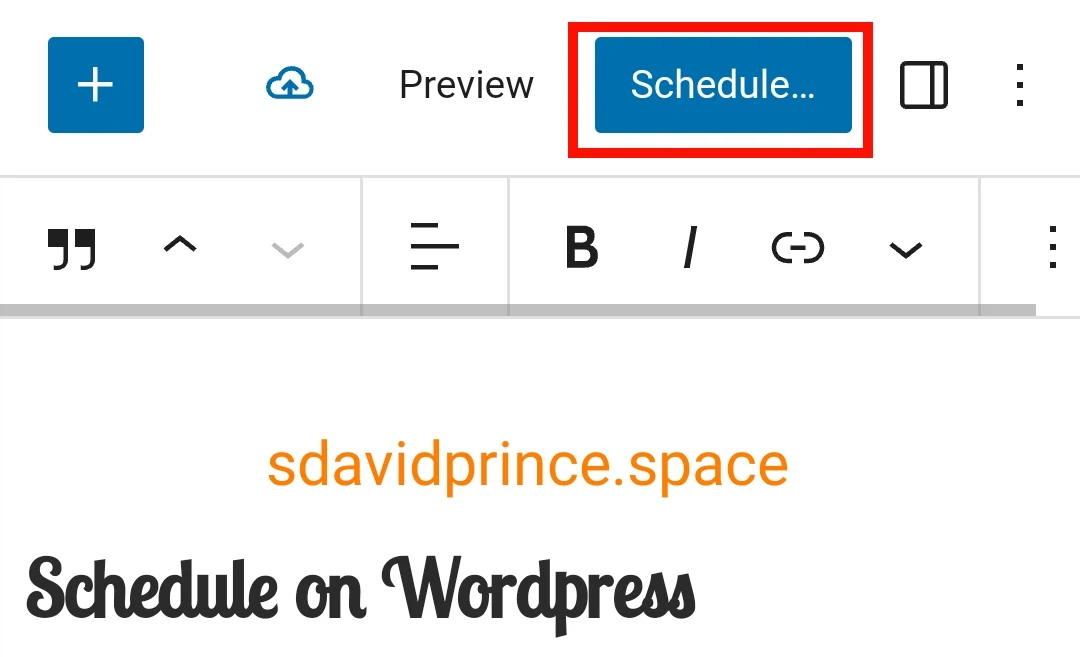
Instead of the usual "Publish" button, you'll now see a "Schedule" button. Click it.
Your post will now be scheduled for publication and will go live according to your chosen date and time.
Scheduling a Post in the Classic Editor:
For those using the classic editor in WordPress, the process is slightly different. Here's how to schedule a post using the classic editor:
Step 1:
Start by creating or editing your blog post in the Classic Editor.
Step 2:
In the top bar, you'll find the "Document" tab. Click on it to expand the settings.
Step 3:
Look for the "Summary" section. Tap to toggle the dropdown
Step 4:
You'll see the "Publish" option with a date and time next to it. By default, it's set to "Immediately."
Step 5:
Click the "Immediately" link, and a calendar and time picker will appear.
Step 6:
Choose your preferred publication date and time.
Step 7:
Once you've set the schedule, click "Schedule."
Your post is now scheduled, and it will automatically go live at the specified date and time. You can also see the countdown to the scheduled publication right in the "Summary" section.
Scheduling Draft Post with Quick Edit
One of the dynamicity of WordPress in also lies in the Quick Edit feature.
To use this feature, all you need to do is write your content and you may not publish it yet or schedule it using the methods above.
You can leave your post as draft and come back later to it to schedule without hazzle.
Step 1:
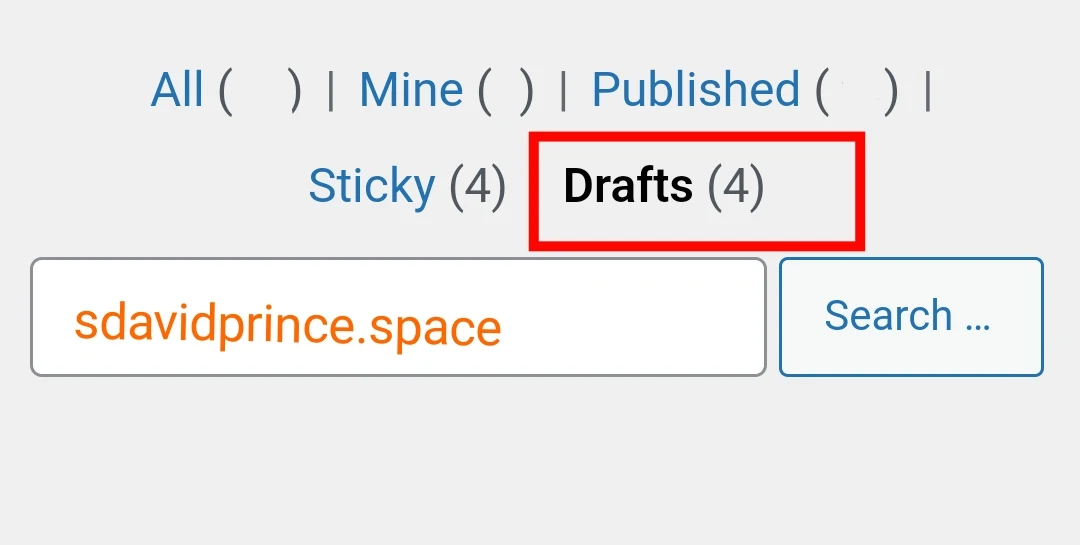
Navigate to your Draft Post
Step 2:
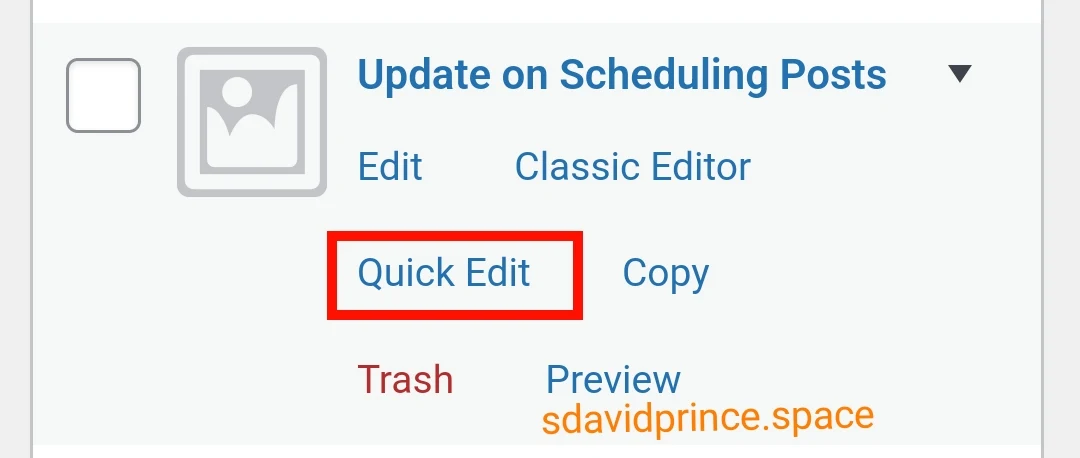
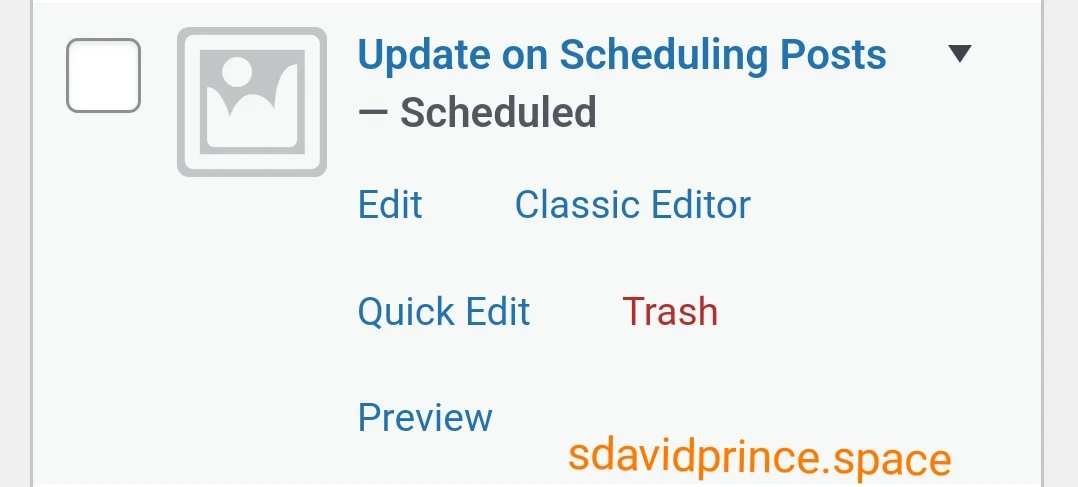
After Seeing the post, Click on "Quick Edit"
Step 3:
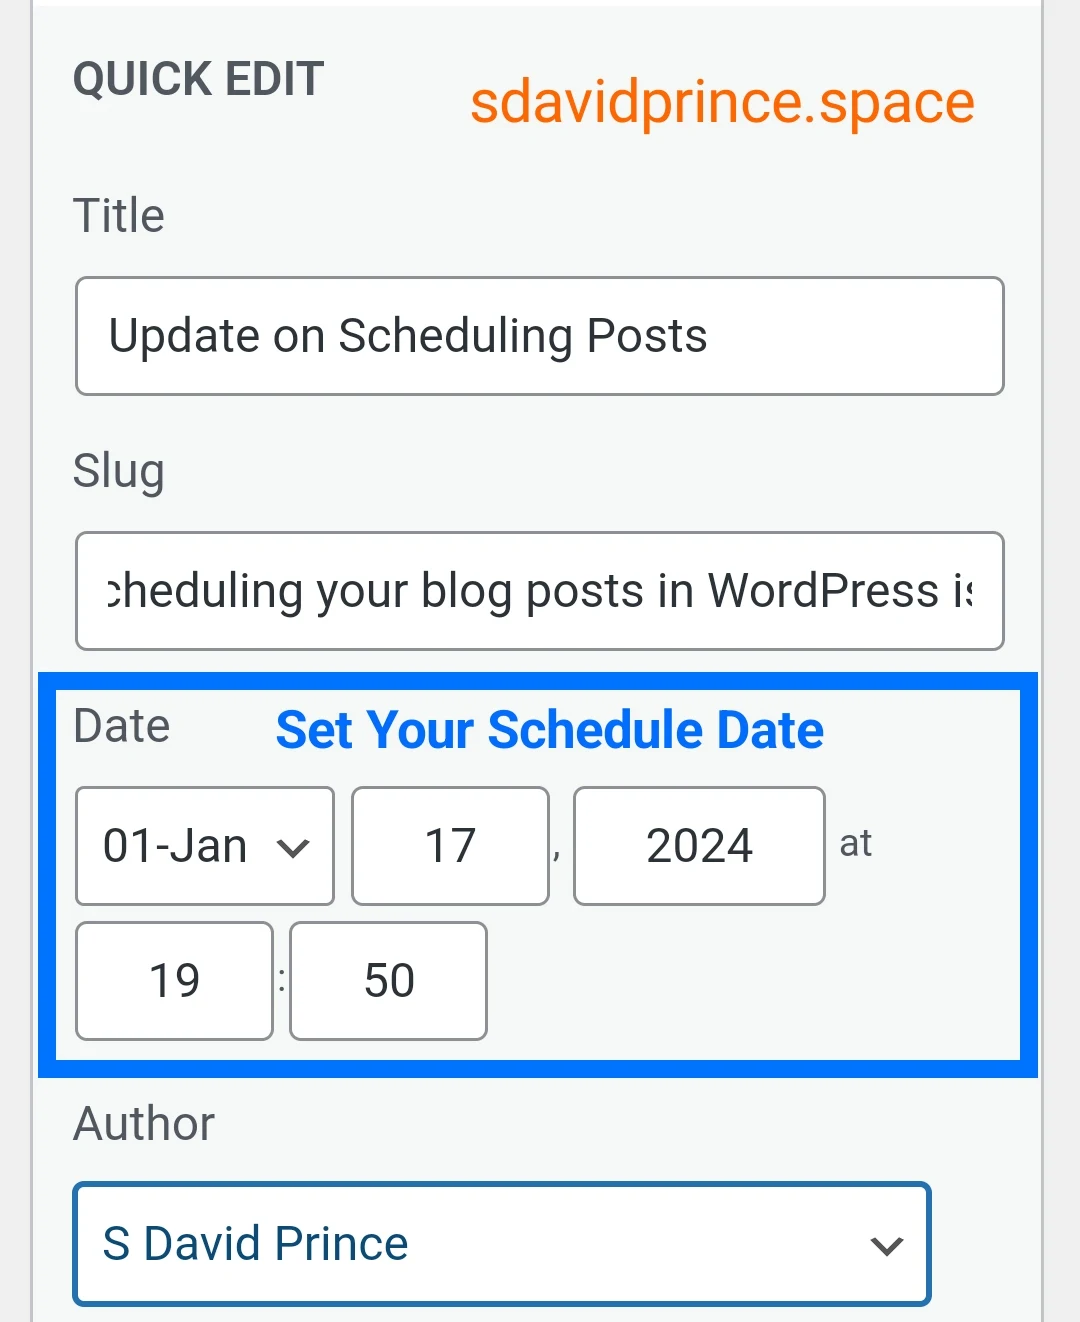
On the "Date " tab of the Quick Edit section, Set your your desired date and time for publication
Step 4:
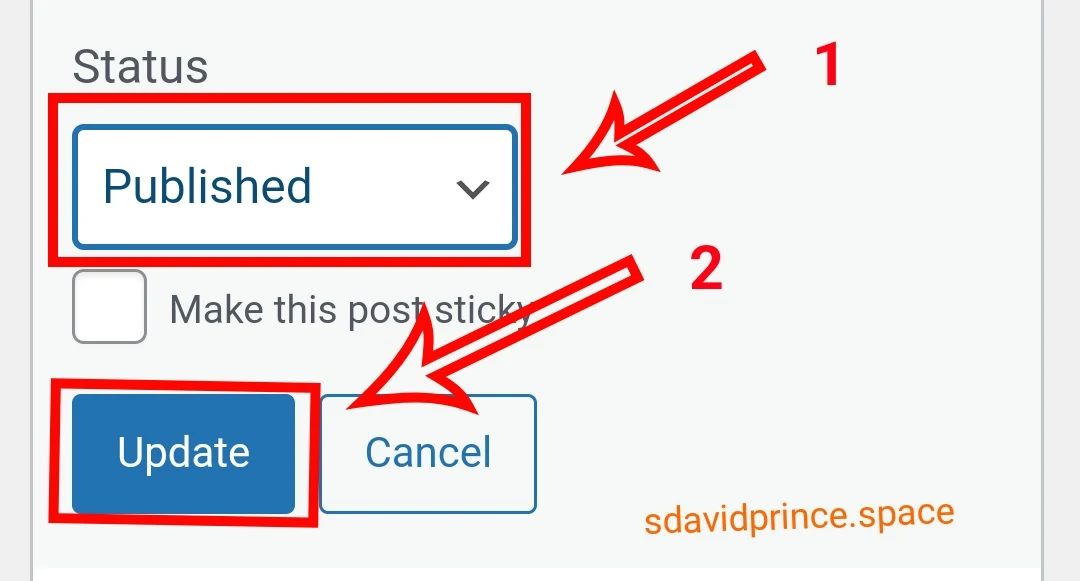
Navigate to the "Status" modification, Change the status of the post from "Draft" to "Published"
Your post will now be scheduled and would be published on to your chosen date and time.
Scheduling WordPress Pages
Did you know that you can schedule pages just like regular blog posts in WordPress?
Whether you're planning to launch a new page or update an existing one, you can set it to be published automatically at your convenience.
Can You Schedule Changes to Published Posts or Pages in WordPress?
By default, WordPress doesn't allow you to schedule changes to posts or pages that are already published.
Any modifications you make to a published post will become live as soon as you save them.
In conclusion, scheduling your blog posts in WordPress is a valuable feature that can help you maintain a consistent publishing schedule and keep your readers engaged.
Whether you're using the block editor or classic editor, this guide makes the process easy and efficient.
I hope this article has been helpful in learning how to effortlessly schedule your blog posts in WordPress, allowing you to focus on what you do best: creating great content.
If you have any questions or need further assistance on anything wordpress, please feel free to reach out.
Happy blogging! 🚀
Sdavidprince Signs out ✍️


