Do you want to start a blog right away ? If you are still considering, do you know you can start a blogging totally free and you would be able to share your thoughts, experiences, or creativity with the world.
I know that starting a blog can be a terrifying thought, especially when you are not geeky (the tech type). Guess what – you are not alone.
I also had same thoughts years back and I was even still a student and with a tight budget. At that time too I was someone who just want it simple and to do it as an hobby. I got to try different ways to start and Wordpress is still the best solution.
You can start your own blog for free on WordPress.com.
In this quick and easy guide, we'll get through the process of starting your own blog on WordPress.com – no technical jargon, just simple steps.
Little About WordPress
WordPress.com is your go-to if you want a hassle-free experience in starting and managing a blog.
It is a blog publishing and hosting platform made by Automatic inc. The platform will host your site and your files for you.
You won't have to worry about domain address, web hosting or anything. It would be done on WordPress.com server for free. They just add little ads for revenue to keep the server running. You and I know hosting on the web cost a fee.
On Wordpress everything is taken care of. You just have to sign up, pick a design, and start blogging in minutes. It's great for beginners. You can start for free and later upgrade.
As of 2022, WordPress.com powers around 40% of the web. So if you know you know.
WordPress turned 18 today, but it also powers over 40% of the global Internet, and you, one of our many WordPress.com members, are a big part of the reason.
How to Setup A Free WordPress.com Blog
 |
| WordPress.com |
Step 1: Sign Up for a WordPress.com Account (2 mins)
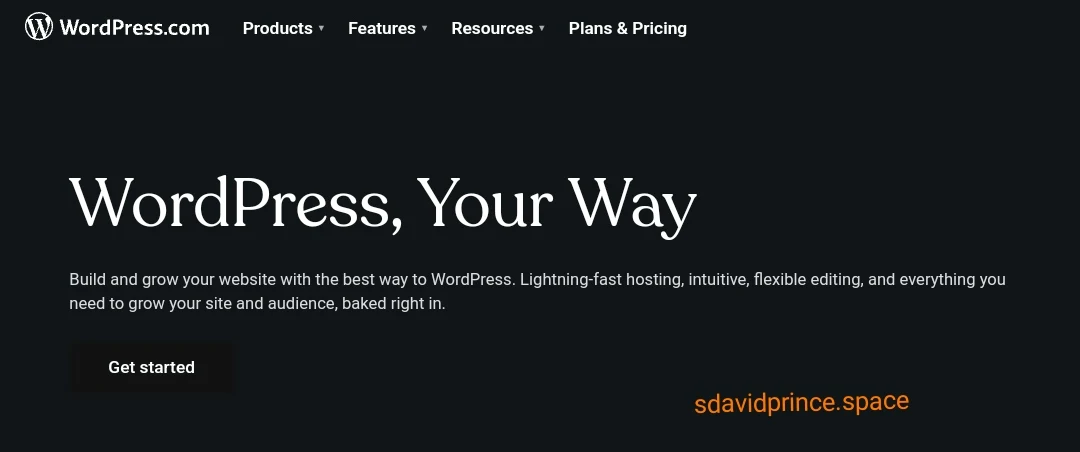
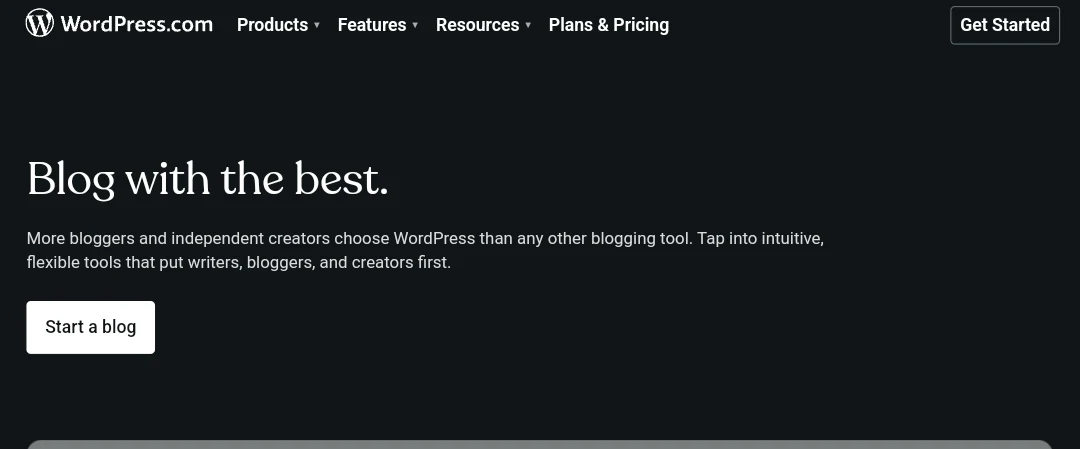
1. Go to WordPress.com in your web browser.
2. Click on "Start a blog" or "Get Started."
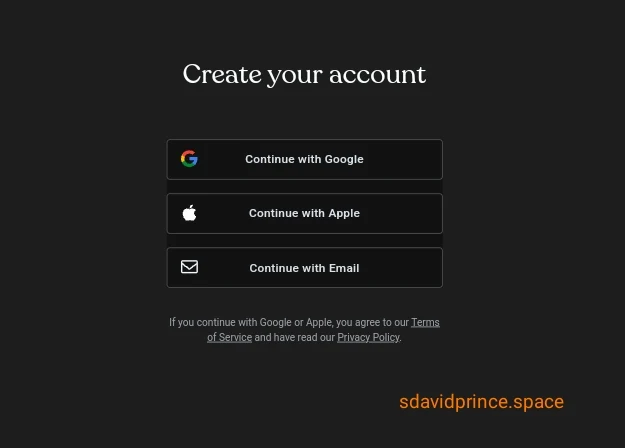
3. Enter your email address, choose a username, and create a secure password.
4. "Create your account."
* You can sign up with you Google or Apple Account
Step 2: Choose a Blog Address (1 min)
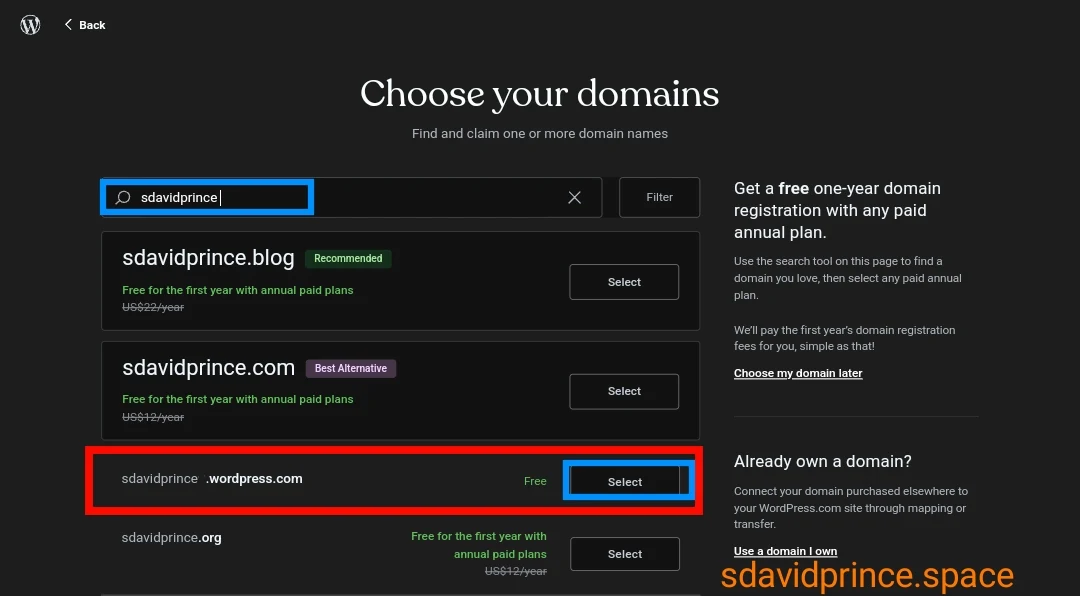
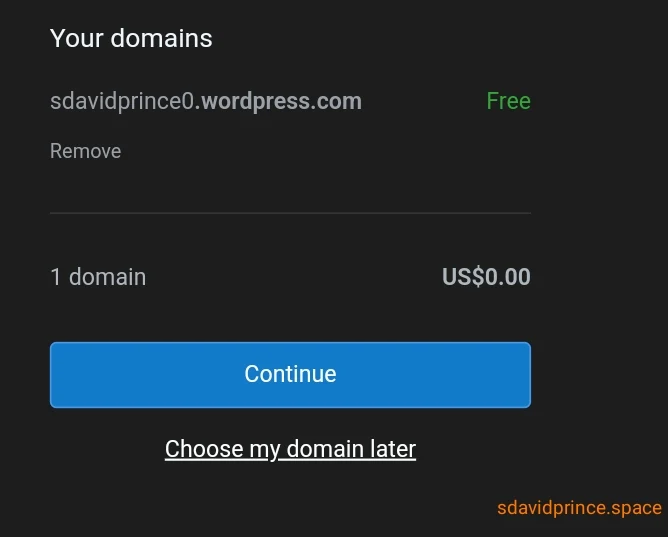
1. Search, Choose and Select a domain name (e.g., yourblogname.wordpress.com).
2. WordPress will suggest available options; pick one that resonates with your blog's theme. Make sure you select a "yourblogname.wordpress.com" domain. It's the only free one.
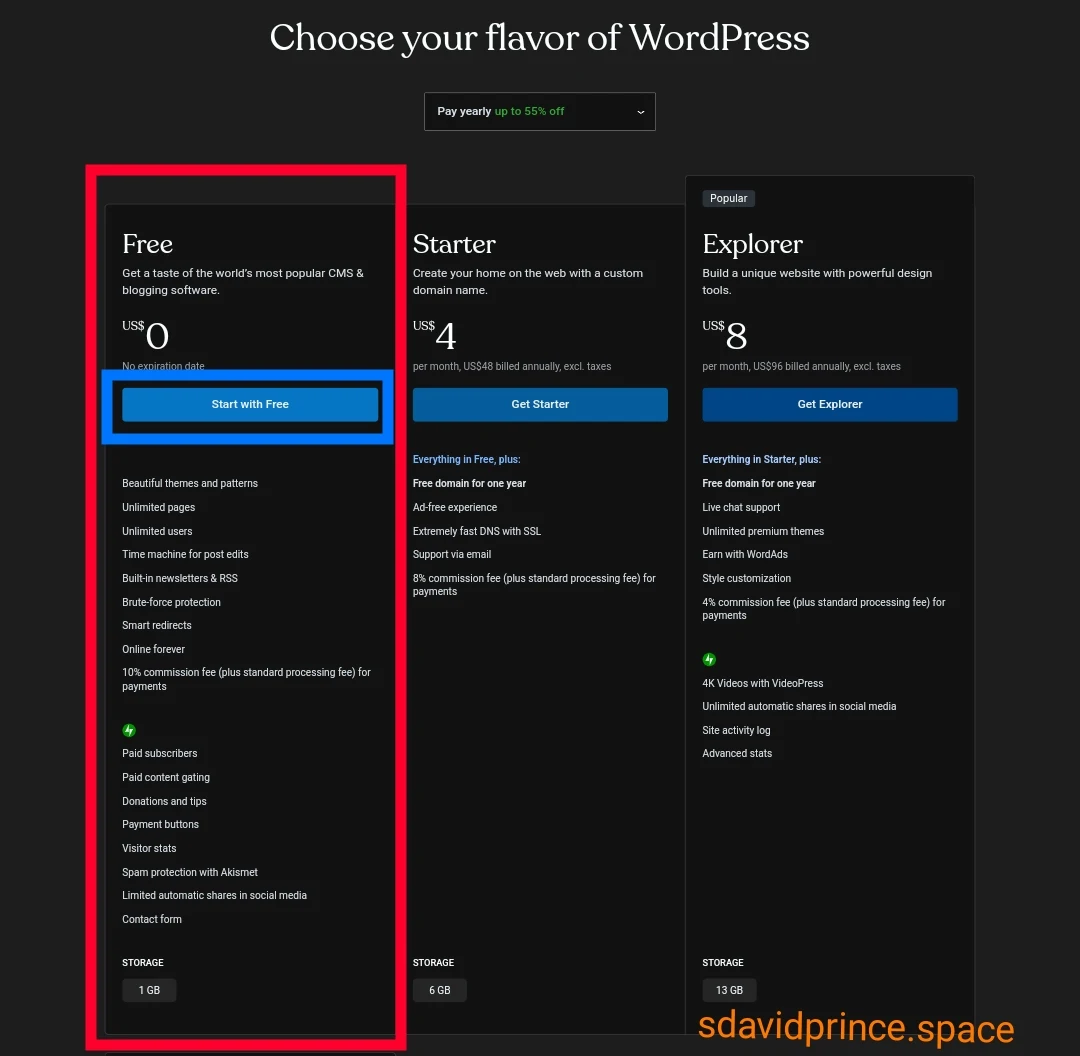
3. Click "Select Free Plan" to continue with a free blog.
Step 3: Proceed to WordPress - Set Blog; Name, Purpose, Design
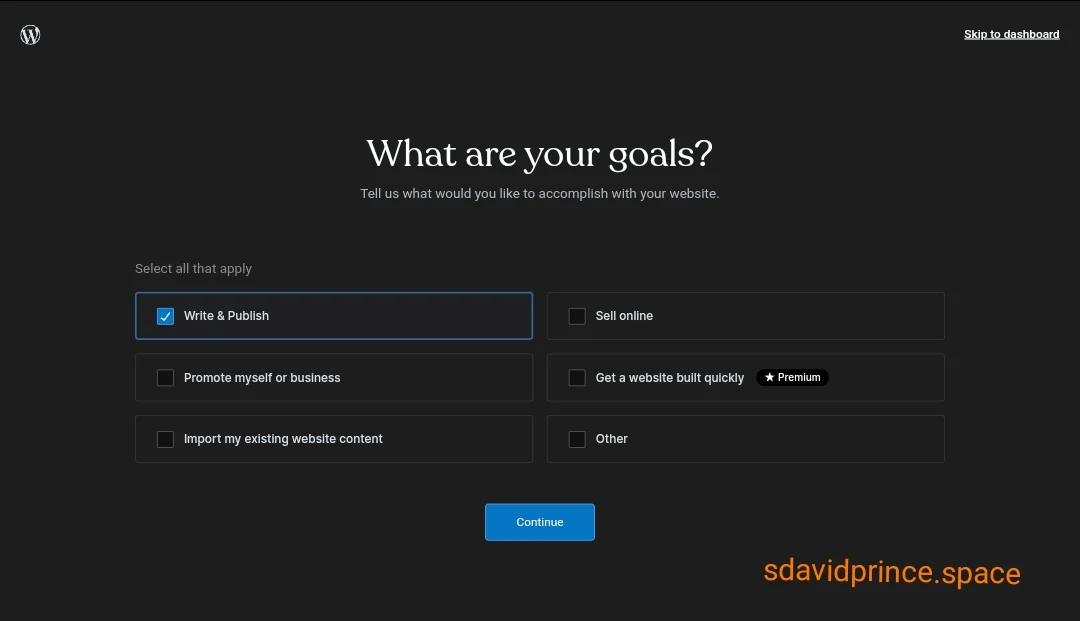
* You have the option to skip this to your dashboard or set this once an for all. You can always set it anytime on your dashboard
1. Set your WordPress Goal. This is for WordPress to guide you on dashboard later.
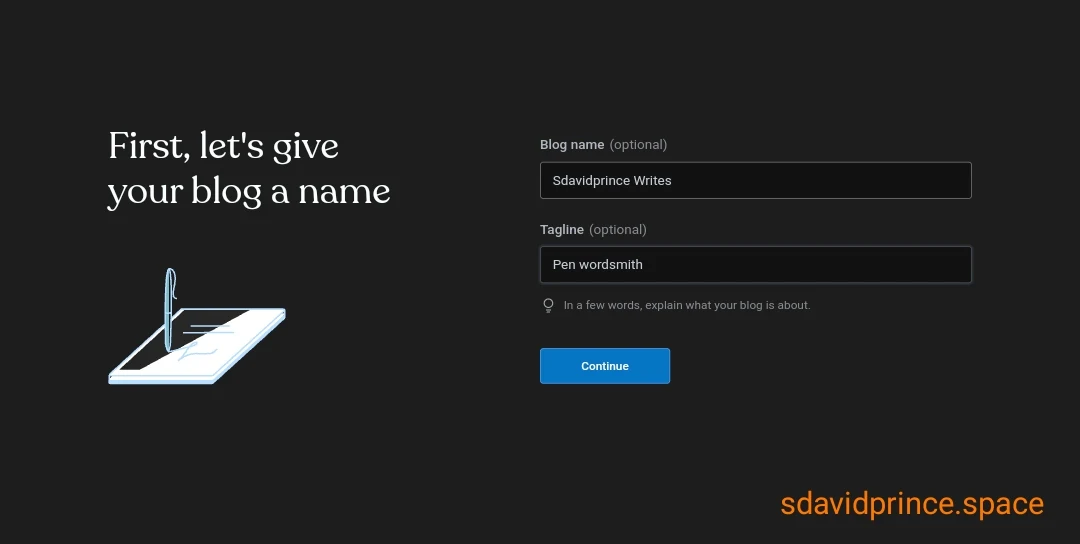
2. Give your Blog a Name and Tagline (optional). This is what will show on your blog header and on search engines like Google.
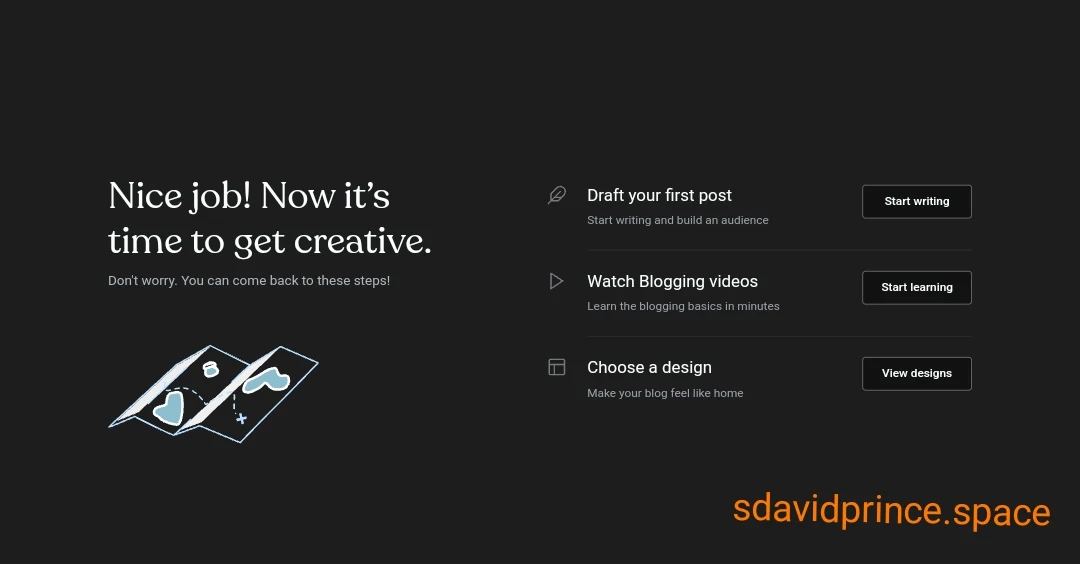
3. The interface would bring you to a three option window.
You have the option to
- start writing right away
- watch blogging videos and tutorials
- pick your blog theme design
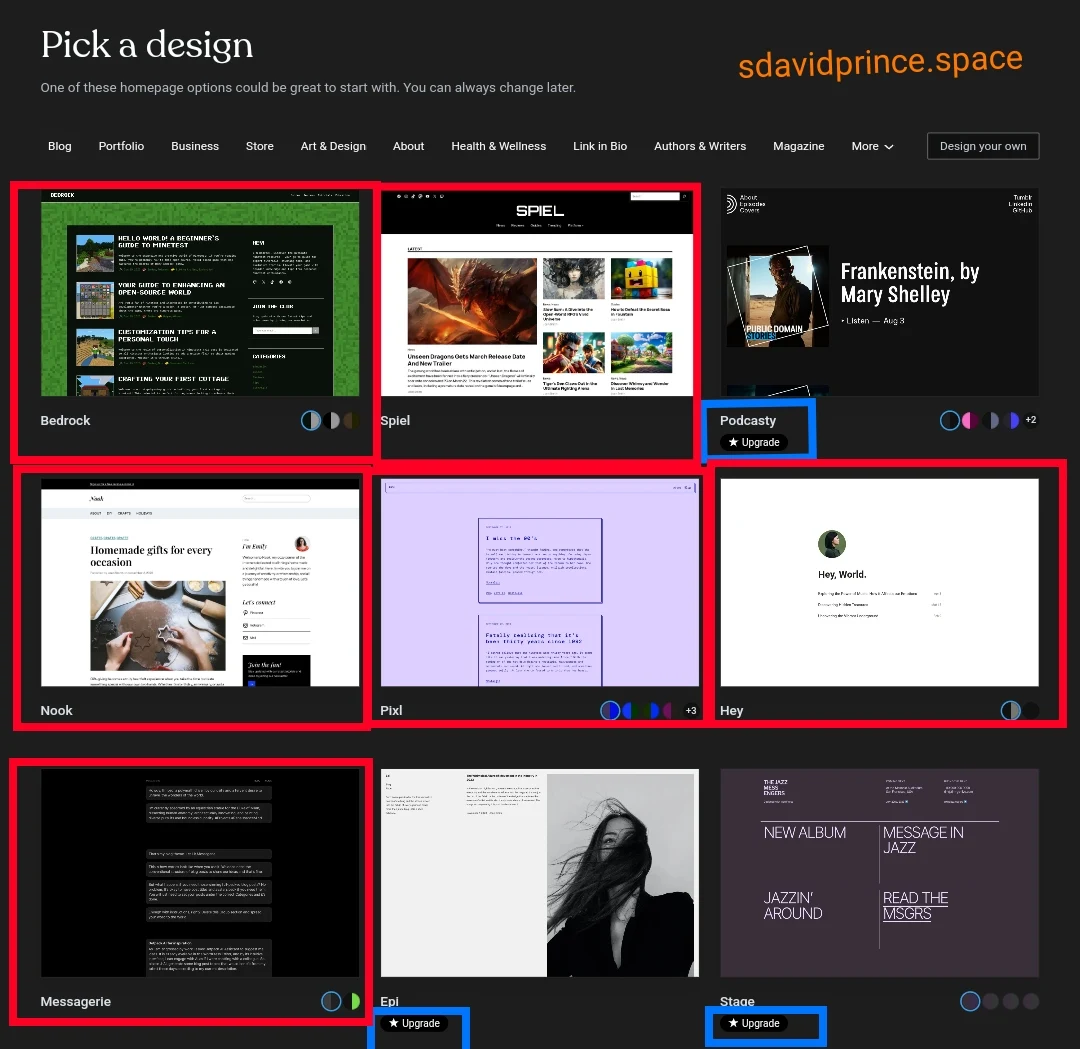
Step 3: Pick a Blog Design (1 min)
1. Browse through the available free themes.
2. Choose a design that reflects your style and complements your content.
3. Click "Activate this design" to set your blog's appearance.
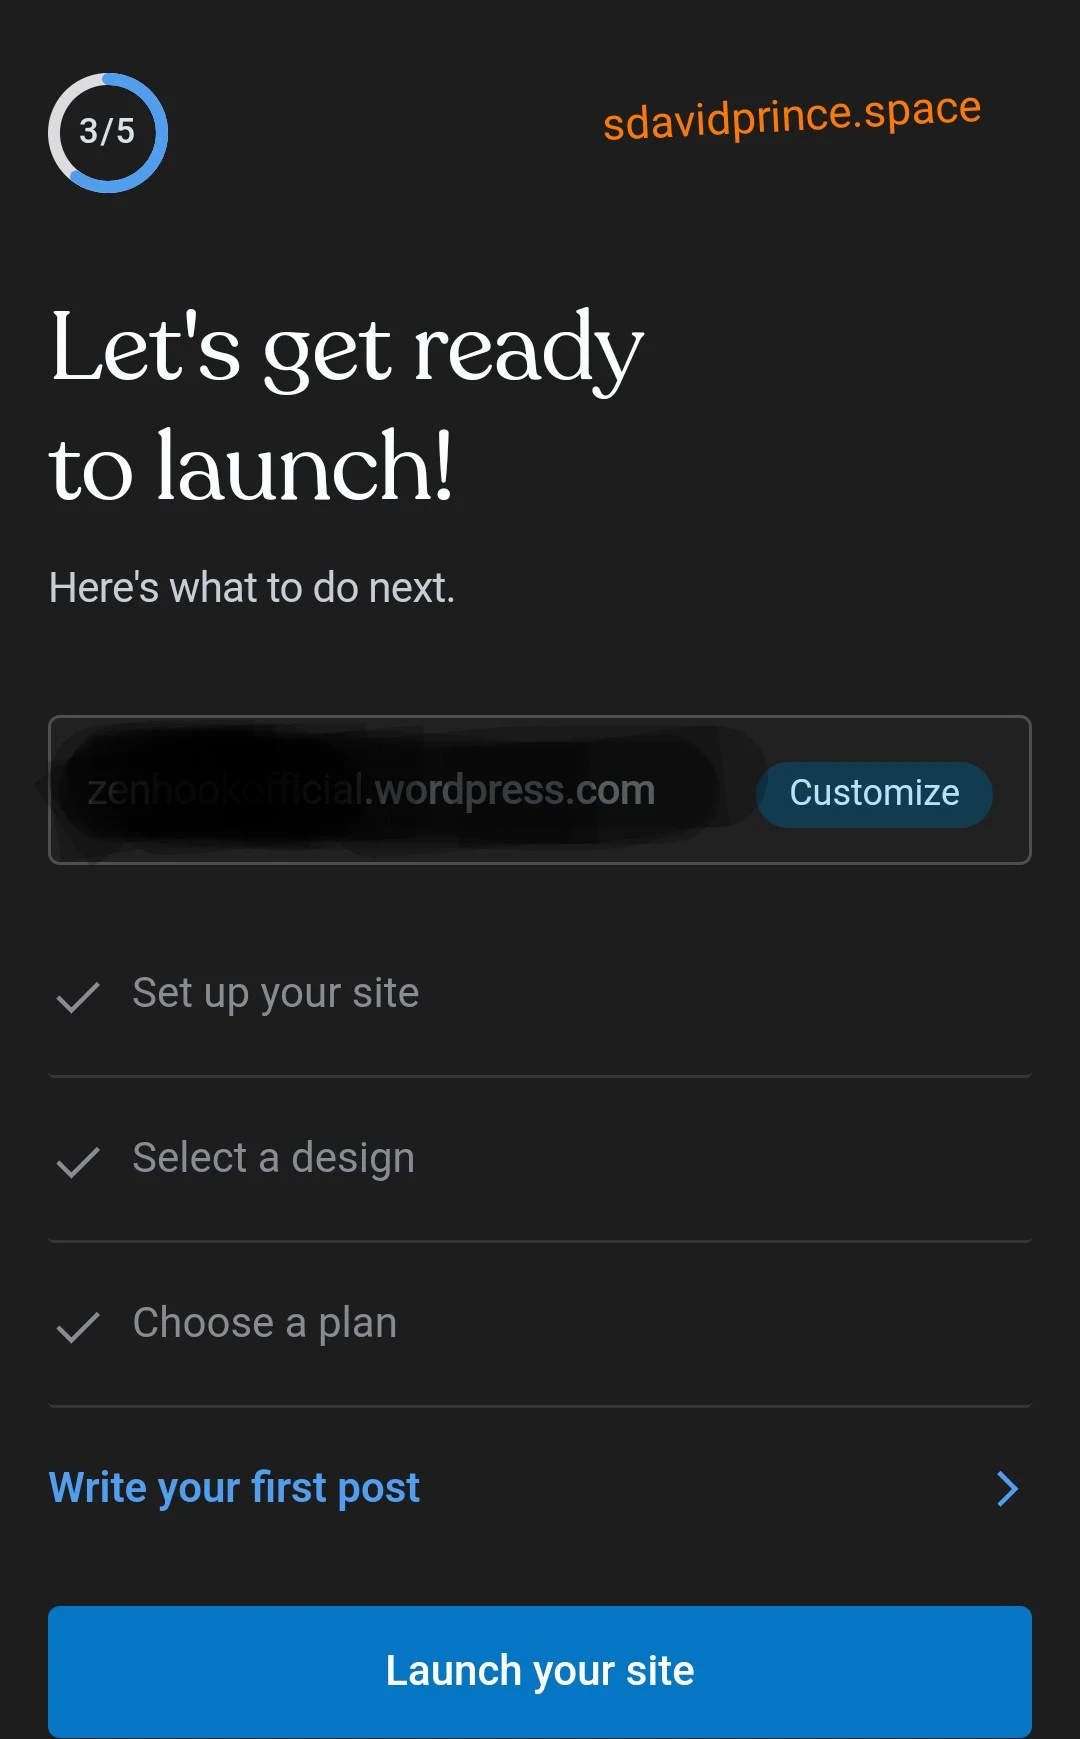
Step 4: Create Your First Blog Post and Launch
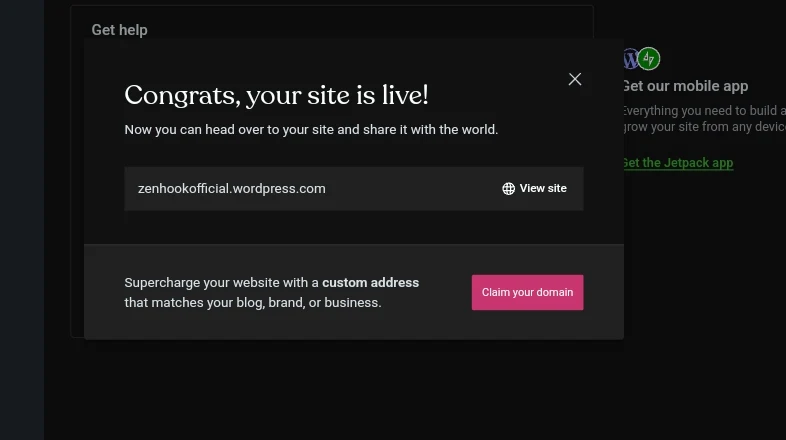
* WordPress would push a message to you to launch your blog site. Make sure you launch so that your blog can be accessible and viewed publicly on yourblogname.wordpress.com.
When people, friend family visit yourblogname.wordpress.com they would see what you post on your blog.
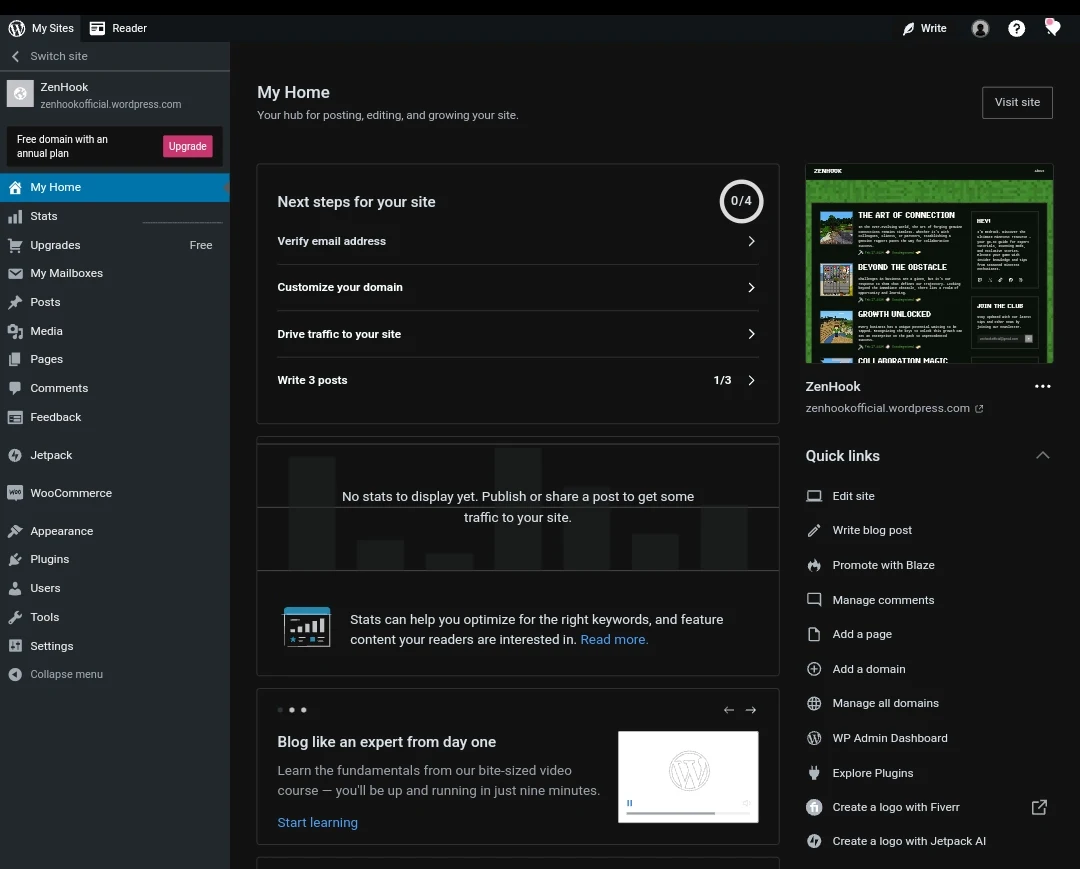
1. Navigate to the WordPress dashboard.
2. Click on "Site" and then "Blog."
3. Select "Add" to create a new post.
4. Give your post a title and start writing in the content area.
5. Click "Publish" when you're ready to share your post with the world.
Explore WordPress Additional Features
1. Familiarize yourself with the WordPress dashboard , it's your blogging control center.
2. Customize your blog further with widgets, menus, and other options.
3. Connect your social media accounts to share your posts seamlessly. Activate Jet-Pack. Go to plugins to see jetpack. See if it is activated.
4. Explore Jetpack features. Jetpack is one of the only plugin you can activate with a free WordPress.com account plan.
It has so many useful features you can try. Like analytics, social media integration... You can also download the app to manage your blog on mobile.
Tips
📖 You can always access your WordPress dashboard, simply add /wp-admin to the end of your blog's URL. For example, if your blog is "yourblog.wordpress.com," go to "yourblog.wordpress.com/wp-admin" and log in with your credentials.
📖 Consider installing the Jetpack plugin for additional features like site stats, social sharing, and enhanced security. It's a powerful tool that can enhance the functionality of your WordPress.com site.
📖 Download the WordPress mobile apps to manage your blog on the go. These apps allow you to write, edit, and monitor your site from your mobile device.
📖 Explore the WordPress.com theme showcase to find a theme that suits your blog's style. Customize it further by navigating to the "Customizer" in your WordPress dashboard.
Closing
Congratulations! You've just embarked on your blogging journey. Remember, blogging is about expressing yourself, so don't be afraid to experiment and have fun with it.
Whether you're sharing your passions or documenting your experiences, WordPress.com provides a user-friendly platform to help your voice be heard.
Happy blogging! ✍🏾

