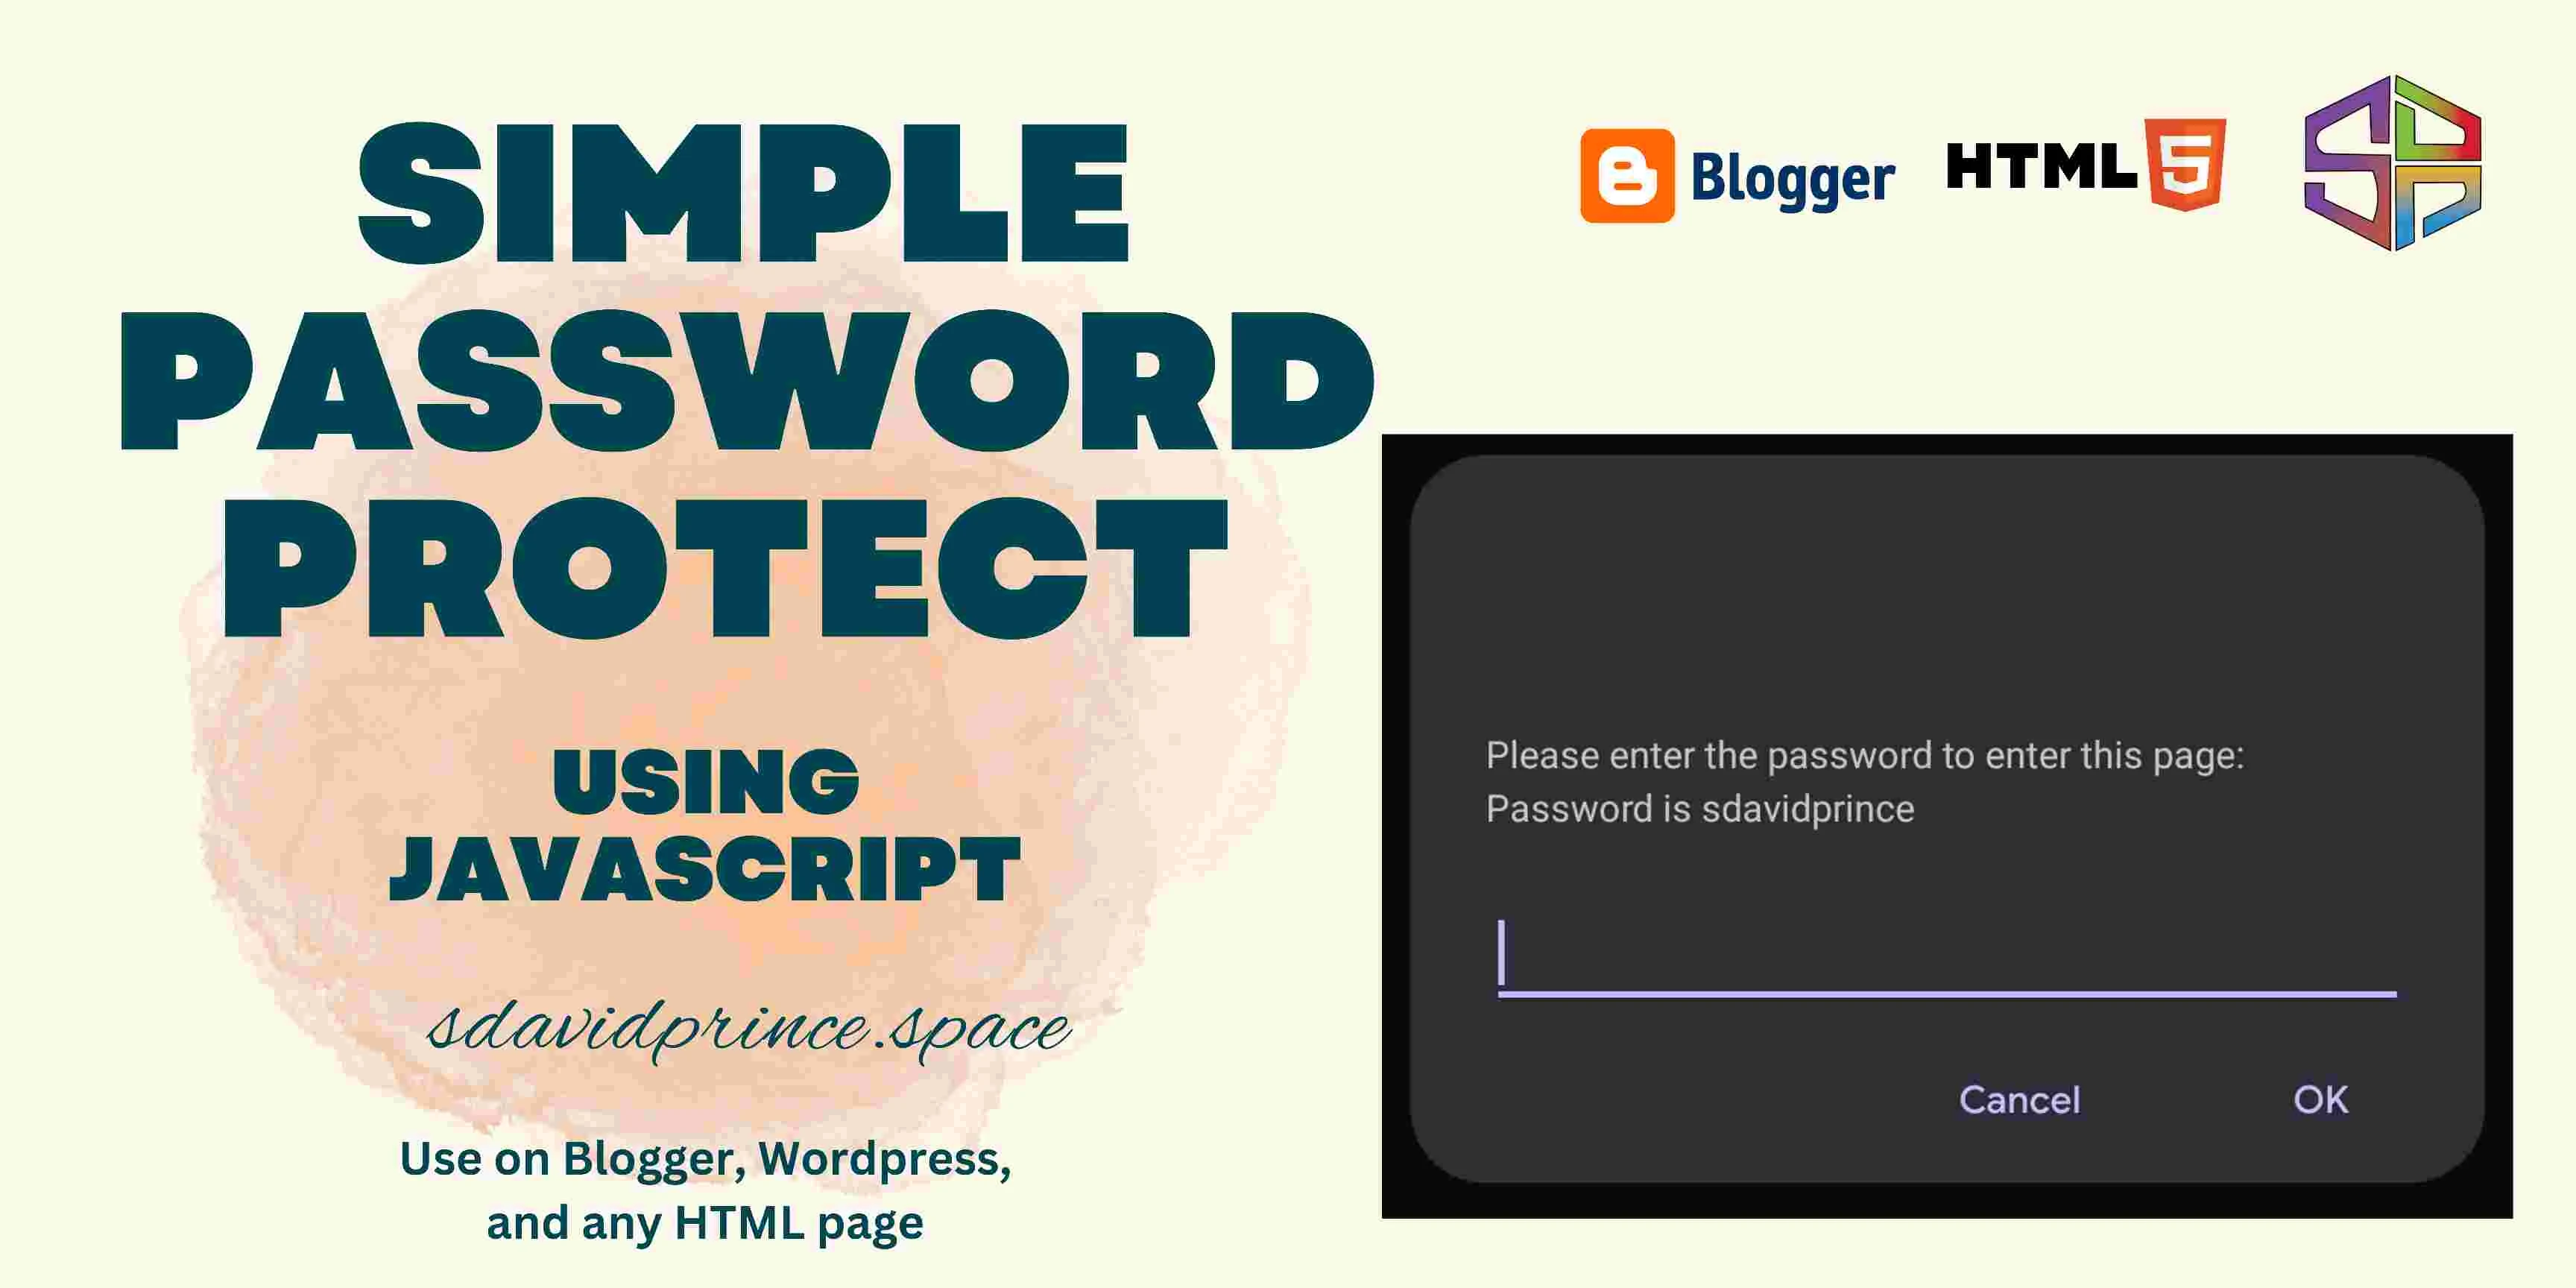
If you are able to view this post, then you would have seen the script in action.
Whether you desire a members-only section or a private area for selected individuals, this post will share a simple code to protect and restrict human access to a post.
With this simple Script, you can lock access to a webpage or content to unauthorised viewers. This code works on any site, expect if your site doesn't use JavaScript.
I just love to concentrate my posts on blogger user since I'm one myself. Anything that works on blogger would work on any static site.
Implementing the Password Protection Script
For blogger users,
📌 Get to the post content or page you want to protect
📌 Switch to the HTML editor
📌 In the HTML view of your page editor, copy and paste the following JavaScript code:
 <!--Password protect JS by sdavidprince-->    <script type="text/javascript">
var password = 'YourPassword';
password = prompt('A simple prompt- Please enter the password to enter this page:', '');
if (password != 'YourPassword') {
    location.href = 'WRONG_PASSWORD_REDIRECTION_URL_HERE';
}
</script>
🔖 Replace 'YourPassword' with the password you want to set for your page.
Additionally, replace 'WRONG_PASSWORD_REDIRECTION_URL_HERE' with the URL of the page where you want to redirect unauthorized users.
You can also modify the prompt. All marked areas can be modified.
📌 Once you've implemented the password protection script, click on the "Save" button to save your changes. If it's a new or draft post, click on the "Publish" button to make your password-protected page live on your blog.
Implementing on Any Other Site
Testing the Password Protection
To ensure that the password protection is working correctly, open a new browser window and visit your blog.
Access the password-protected page, and you should see a prompt asking you to enter the password you set earlier. Once you enter the correct password, the page content will be visible.
That's It
Remember to regularly update and change your password to ensure the security of your content. Thank you for reading, and ...
... happy blogging!


