{tocify} $title={GoDirect}
Main Site
Drop Cap
<span class="firstcharacter">L</span>Change "L" with custom own letter text.
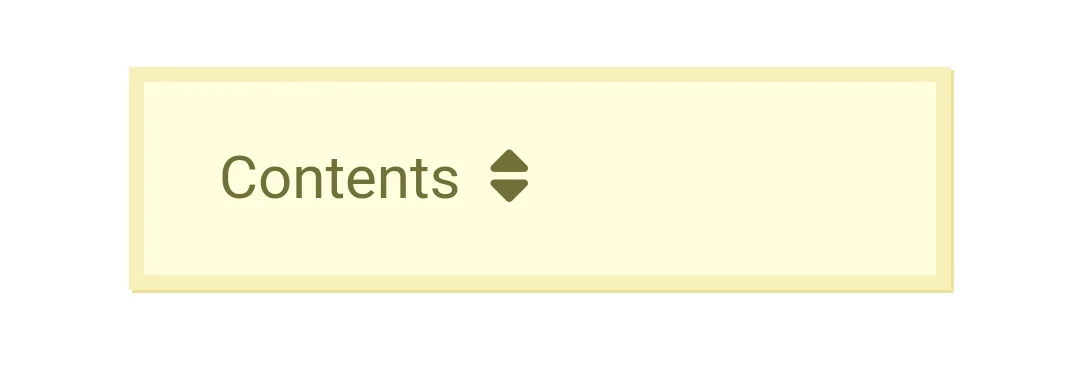
Table of Contents
Style one
Shortcode:
{tocify}To Customize ToC Title Text
ShortCode 2:
{tocify} $title={Table of Contents}To use the ToC Short Code, Paste Short code where it would appear, then Bold
Use Crtl + B to blold on PC and Cmd + B on Mac
or
Use Post Editor.
Example
Style Two
HTML Code
<script>mbtTOC();</script>
To activate the Style Two TOC plugin by MBT,
Access blog Posts > click Edit on any of posts or add a new post. then switch to HTML area of the post editor and paste the Above Javascript code after the end of the post.
Post Buttons
ShortCode:
{getButton} $text={Button Text} $icon={Icon Name} $color={Hex Color}Available Icons:
preview
download
link
cart
share
info
Icon and Color are not required.
Colors :
Example:
HTML Code:
Access blog Posts > click Edit on any of posts or add a new post. then switch to HTML area of the post editor and add the below coding anywhere the Button Is expected to appear.
Simple Button:
Small Button:
<div class="small-button"> <a class="button small" href="https://www.blogger.com">Button Small</a> </div>
Medium Button:
<div class="small-button"><a class="button medium" href="https://www.blogger.com">Button Medium</a> </div>
Large Button:
<div class="small-button"><a class="button large" href="https://www.blogger.com">Button Large</a> </div>
Buttons With Icons:
To use center button just make sure to place cursor or type text in blogger post dashboard then before making link button click to top center alignment button and make center selection, then apply our any button shortcode. (if center alignment not work then select all text inside the post and click on last option at top corner that is Clear Text Formatting then try to make center alignment {alertInfo}
Demo Button
Small Demo Button:
<div class="small-button"><a class="button small demo" href="https://www.blogger.com">Demo Button</a> </div>
Medium Demo Button:
<div class="small-button"><a class="button medium demo" href="https://www.blogger.com">Demo Button</a> </div>
Large Demo Button
<div class="small-button"> <a class="button large demo" href="https://www.blogger.com">Demo Button</a> </div>
Download Button
Small Download Button:
<div class="small-button"><a class="button small download" href="https://www.blogger.com">Download Button</a> </div>
Medium Download Button:
<div class="small-button"><a class="button medium download" href="https://www.blogger.com">Download Button</a> </div>
Large Download Button
<div class="small-button"> <a class="button large download" href="https://www.blogger.com">Download Button</a> </div>
Buy Now Button
Small Buy Now Button:
<div class="small-button"><a class="button small buy" href="https://www.blogger.com">Buy Now Button</a> </div>
Medium Buy Now Button:
<div class="small-button"><a class="button medium buy" href="https://www.blogger.com">Buy Now Button</a> </div>
Large Buy Now Button
<div class="small-button"> <a class="button large buy" href="https://www.blogger.com">Buy Now Button</a> </div>
Visit a Link Button
Small Visit a Link Button:
<div class="small-button"><a class="button small visit" href="https://www.blogger.com">Visit a Link Button</a> </div>
Medium Visit a Link Button:
<div class="small-button"><a class="button medium visit" href="https://www.blogger.com">Visit a Link Button</a> </div>
Large Visit a Link Button
<div class="small-button"> <a class="button large visit" href="https://www.blogger.com">Visit a Link Button</a> </div>
Change details with Custom Text and Link. {alertSuccess}
Alert Boxes:
Shortcodes:
{alertSuccess} {alertInfo} {alertWarning} {alertError} Write Text Message and add the shortcode, Then select all the desired text including the shortcode and add the Quote Text style.
HTML Implementation
Access blog Posts > click Edit on any of posts or add a new post. then switch to HTML area of the post editor and add the below coding anywhere the boxes should appear.
Success Style
<div class="alert-message success">
<i class="fa fa-check-circle"></i> success message You successfully read this important message.</div>
Info-Alert Style
<div class="alert-message alert">
<i class="fa fa-info-circle"></i> Alert message This alert needs your attention.</div>
Warning Style
<div class="alert-message warning">
<i class="fa fa-exclamation-triangle"></i> Warning message Warning! Best check yo self.</div>
Error Style
<div class="alert-message error">
<i class="fa fa-exclamation-circle"></i> Error message Oh snap! Change a few things up</div>
Change details with Custom message text {alertSuccess}
Code Box
ShortCode:
{codeBox}HTML Usage
Access blog Posts > click Edit on any of posts or add a new post. then switch to HTML area of the post editor and add the coding anywhere you want to make the code box appear.
<pre>function generate() {

    var a = $('#container').html();

    var b = window.open('', '', 'width=600,height=400');

    b.document.write('<textarea>' + a + '</textarea>');

}</pre>
Change details with custom code text snippet.
Code Text or Snippet should be parsed, meaning HTML entities should be converted for better browser structure and read
Use the HTML converter, Parser tool
Code Box With Copy
Confirmed The Prism JS is Installed and running on site.
HTML Implementation
Access blog Posts > click Edit on any of posts or add a new post. then switch to HTML area of the post editor and add the coding anywhere you want to make the code box appear.
<pre><button class="copy-code-button">
<span><i class="fas fa-copy"> </i></span></button>
function generate() {

    var a = $('#container').html();

    var b = window.open('', '', 'width=600,height=400');

    b.document.write('<textarea>' + a + '</textarea>');

}
</pre>
Change details with custom code text snippet.
Code Text or Snippet should be parsed, meaning HTML entities should be converted for better browser structuring and reading
or
Use The Prism Pre Code Box Generator with Parser
Using the tool, there is no need to touch anything just paste Code snippet or text in the tool to Parse and Generate the Codebox with pre tag.
Twearking
Add style
To make Codebox height fixed use:
style="height: 300px; overflow-y: auto;"
Apply in 'Pre tag
So Code looks like this
<pre style="height: 300px; overflow-y: auto;" >
////content///
</pre>
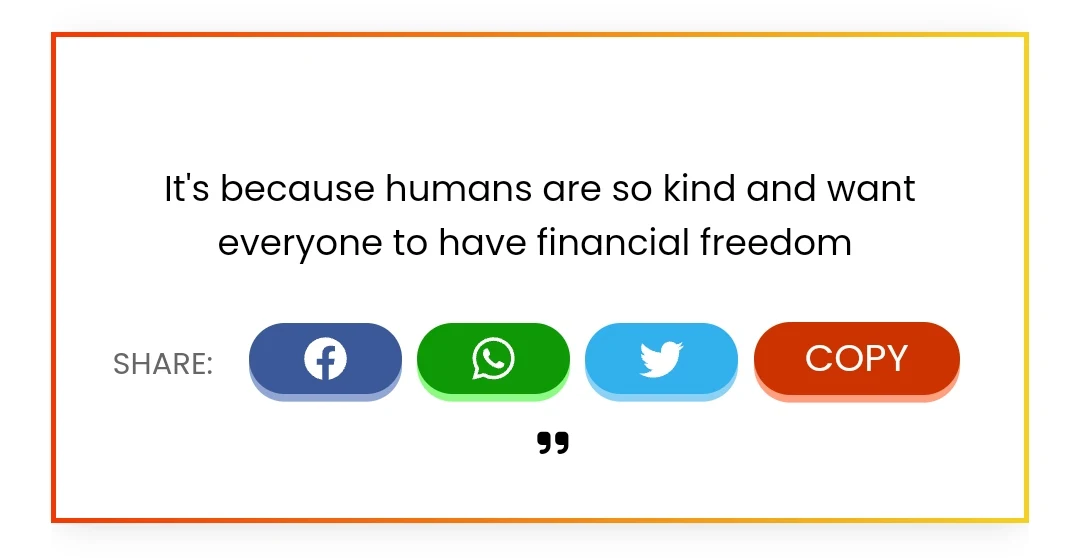
Adjust the Height to desired number value.BlockQuote with Copy and Share
Access blog Posts > click Edit on any of posts or add a new post. then select any text or group to customize and click on the blockquote option available above in post editor.
Image below shows preference:
Blockquote QuoteBack
Access blog Posts > click Edit on any of posts or add a new post. then switch to HTML area of the post editor and add the coding anywhere you want to make the Quoteback Block appear.
<blockquote class="quoteback" darkmode="auto" data-title="Quote the web with Quotebacks" data-author="@ness_labs" cite="https://nesslabs.com/quotebacks">
The ethos behind Quotebacks is one of the reasons why I love the product. Yes, it’s a great addition to my thinking toolkit, allowing me to store quotes without polluting my note-taking and thinking system. But it’s also a tool which aims at making the Internet a more generous place. If you regularly write online, give it a try!
<footer>@ness_labs<cite> <a href="https://nesslabs.com/quotebacks">https://nesslabs.com/quotebacks</a></cite></footer>
</blockquote>
Change details with Intended Quote, or Text and Link.
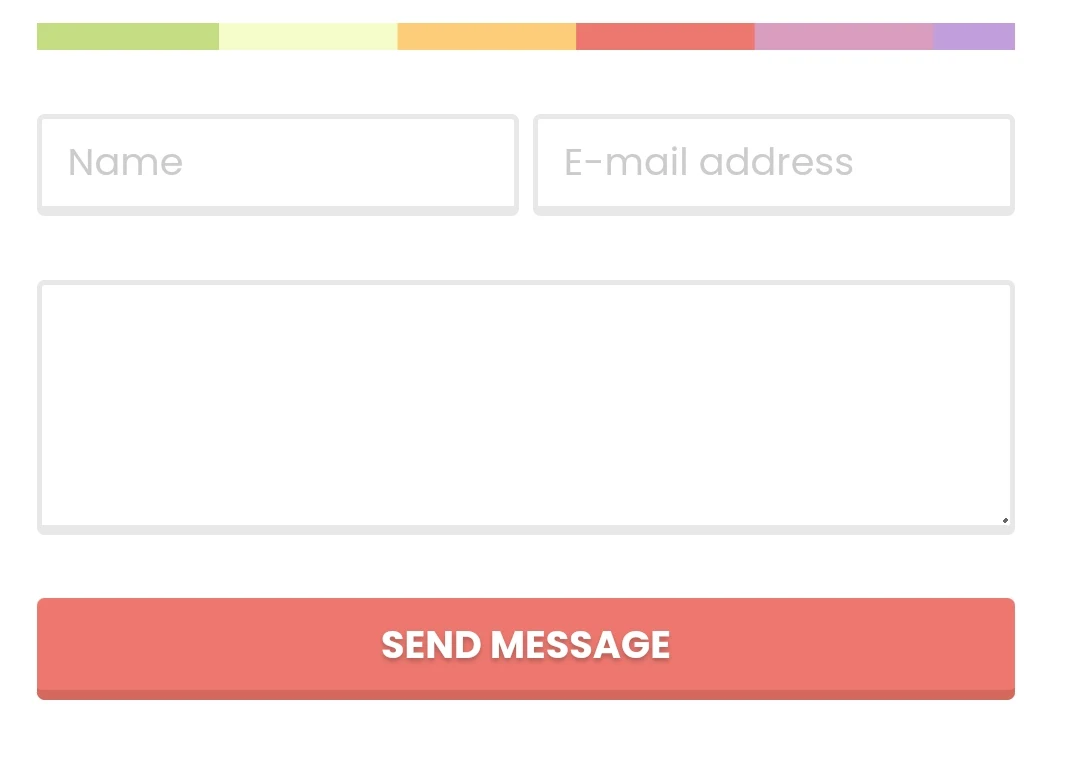
Contact Form
Shortcode:
{contactForm}Add the shortcode in the desired area, Then select the shortcode and add the Bold style.
Example
HTML Code:
<div class="contact-form">      <div class="contact section" id="contact" style="display: block;">       <div class="widget ContactForm" id="ContactForm1">     <div class="contact-form-widget">   <div class="form">  <form name="contact-form">  <input class="contact-form-name" id="ContactForm1_contact-form-name" name="name" placeholder="Name" size="30" type="text" value="" />         <input class="contact-form-email" id="ContactForm1_contact-form-email" name="email" placeholder="Email" size="30" type="text" value="" />          <textarea class="contact-form-email-message" cols="25" id="ContactForm1_contact-form-email-message" name="email-message" placeholder="Message" rows="5"></textarea>        <input class="contact-form-button contact-form-button-submit" id="ContactForm1_contact-form-submit" type="button" value="Send" />          <br />     <div style="text-align: center; width: 100%;">
    <div class="contact-form-error-message" id="ContactForm1_contact-form-error-message">    </div>     <div class="contact-form-success-message" id="ContactForm1_contact-form-success-message">       </div>       </div>     </form>   </div>     </div>        </div>          </div>       </div>
Contact Form style 2
Css
.contact-form-widget{margin-left:auto;margin-right:auto;width:600px;max-width:100%;padding:0}hr{position:relative;height:.75em;border:0;overflow:hidden;margin:0}hr:before{content:"";display:block;position:absolute;top:0;left:0;height:.75em;width:5.1em;background:#C4DD83;box-shadow:5em 0 0 0 #F4FCC9,10em 0 0 0 #FDCD78,15em 0 0 0 #ED786F,20em 0 0 0 #D99DBF,25em 0 0 0 #C39EDC,30em 0 0 0 #679DE2,35em 0 0 0 #62C2E3,40em 0 0 0 #F4FCC9,45em 0 0 0 #FDCD78,50em 0 0 0 #ED786F,55em 0 0 0 #D99DBF,60em 0 0 0 #C39EDC}.contactf-name,.contactf-email{float:left;width:49.25%}.contactf-name{margin-right:1.5%}.contact-form-name, .contact-form-email,.contact-form-email-message,.contact-form-name:hover,.contact-form-name:focus,.contact-form-email:hover,.contact-form-email:focus,.contact-form-email-message:hover,.contact-form-email-message:focus{width:100%;max-width:100%;margin:25px 0 0;padding:10px;font-size:15px;color:#ccc;border-color:#E8E8E8;border-width:2px 2px 4px;-webkit-box-shadow:none;-moz-box-shadow:none;box-shadow:none}.contact-form-name,.contact-form-email{height:40px}.contact-form-email-message{height:100px}.contact-form-button-submit,.contact-form-button-submit:hover{margin-top:25px;width:100%;height:40px;font-size:15px;color:#fff;text-align:center;text-shadow:0 1px 2px rgba(0,0,0,0.25);background:#EE786F;border:0;border-bottom:2px solid #D4685C;outline:none;cursor:pointer;-webkit-box-shadow:inset 0 -2px #D4685C;box-shadow:inset 0 -2px #D4685C}.contact-form-button-submit:active{top:1px;outline:none;-webkit-box-shadow:none;box-shadow:none}.contact-form-cross{border:medium none !important;box-shadow:none !important;padding:0 ! important;height:11px !important;width:11px !important;}
    }
HTML
<div class="widget ContactForm" id="ContactForm22"><div class="contact-form-widget"><hr /><div class="form"><form name="contact-form"><div class="contactf-name"><input class="contact-form-name" id="ContactForm1_contact-form-name" name="Name" onblur="if (this.value == "") {this.value = "Name";}" onfocus="if (this.value == "Name") {this.value = "";}" size="30" type="text" value="Name" /></div><div class="contactf-email"><input class="contact-form-email" id="ContactForm1_contact-form-email" name="E-mail address" onblur="if (this.value == "") {this.value = "E-mail address";}" onfocus="if (this.value == "E-mail address") {this.value = "";}" size="30" type="text" value="E-mail address" /></div><div style="clear: both;"></div><div class="contactf-message"><textarea class="contact-form-email-message" cols="25" id="ContactForm1_contact-form-email-message" name="Type your message here..." onblur="if (this.value == "") {this.value = "Type your message here...";}" onfocus="if (this.value == "Type your message here...") {this.value = "";}" rows="5" type="text" value="Type your message here..."></textarea><input class="contact-form-button contact-form-button-submit" id="ContactForm1_contact-form-submit" type="button" value="Send Message" /><div class="contact-form-error-message" id="ContactForm1_contact-form-error-message"></div><div class="contact-form-success-message" id="ContactForm1_contact-form-success-message"></div></div></form></div></div></div>
<hr />
<hr />
Post Layout
ShortCode:
{fullWidth} {leftSidebar} {rightSidebar}Example
Tables
HTML
Access blog Posts > click Edit on any of posts or add a new post. then switch to HTML area of the post editor and add the below coding anywhere the table is to appear.
<div class="post-table">

<table>

    <thead>

<tr>

        <th>First Name</th>

        <th>Last Name</th>

        <th>Hero Title</th>

      </tr>

</thead>

    <tbody>

<tr>

        <td data-label="First Name">Bruce</td>

        <td data-label="Last Name">Wayne</td>

        <td data-label="Hero Title">Batman</td>

      </tr>

<tr>

        <td data-label="First Name">Peter</td>

        <td data-label="Last Name">Parker</td>

        <td data-label="Hero Title">Spiderman</td>

      </tr>

<tr>

        <td data-label="First Name">Bruce</td>

        <td data-label="Last Name">Banner</td>

        <td data-label="Hero Title">The Hulk</td>

      </tr>

<tr>

        <td data-label="First Name">Clark</td>

        <td data-label="Last Name">Kent</td>

        <td data-label="Hero Title">Superman</td>

      </tr>

</tbody>

</table>

</div>
Change details with custom own text.
Comic Site
Video Site
This site accepts Webmentions via webmention.io/www.sdavidprince.space/webmention. You can also reply to syndicated posts, and your responses may be backfed (posted back here) via brid.gy.
What does all these mean? Read more about it. Respect this and keep mentions relevant.


